描述
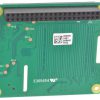
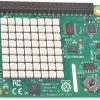
樹莓派Raspberry Pi Sense Hat
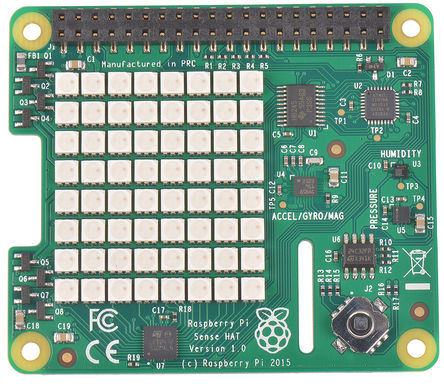
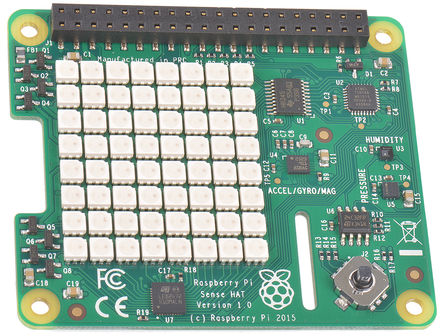
The Sense HAT has an 8×8 RGB LED matrix, a five-button joystick and includes the following sensors:
- 3D Gyroscope
- Accelerometer (Yaw, Pitch & Roll)
- Magnetometer
- Temperature
- Barometric Pressure
- Humidity
The Raspberry Pi Foundation have also created a Python library providing easy access to everything on the board.
Sensing Elements Technical Specification:
Pressure / Temperature (ST Micro LPS25H)
– 24-bit pressure measurement resolution (260hPa to 1260hPa)
– 16-bit temperature measurement resolution (0-125°C)
Datasheet
Humidity / Temperature (ST Micro HTS221)
– 16-bit humidity measurement resolution (0-100% relative humidity)
– 16-bit temperature measurement resolution (0-60°C)
Datasheet
Acceleration/Gyroscope/Magnetic field (ST Micro LSM9DS1)
– 9 degrees of freedom (X, Y, Z independent axes for all sensors)
– ±16 g acceleration measurement range
– ±16 gauss magnetometer measurement range
– ±2000 dps (degrees per second) gyroscope measurement range
Each of these measurement channels has 16 bits of resolution.
Datasheet
All of these sensors have features for periodic sampling of sensor values, complete with internal FIFO storage. The LPS25H and HTS221 have maximum sample rates of 25 per second, the LSM9DS1 has a maximum sample rate of 952Hz
LED Matrix
The LED matrix is driven by a combination of a constant-current LED driver and an Atmel ATTiny88 running a custom firmware that delivers an 8×8 display with 15-bit resolution RGB colour. If you want to get into the gory details, the AVR firmware is available on Github.
Joystick
The Atmel is responsible for sampling the joystick. We didn’t have enough pins left on the Atmel to dedicate the five that we needed to sample the joystick axes independently, so they’ve been spliced into the LED matrix row selects. The joystick gets updated at approximately 80Hz, which is the scan rate of the LED matrix.
All of the sensors (and the base firmware for the Atmel) are accessible from the Pi over I2C. As a fun bonus mode, the SPI peripheral on the Atmel has been hooked up to the Pi’s SPI interface – you can reprogram your HAT in the field! We use this method to get the firmware into the Atmel during production test – and we leave it unprotected so you can substitute the stock firmware to get it to do whatever you want. Seriously. First person to turn this sensor HAT into a quadcopter controller HAT wins a cookie from me.
Getting Started
Connect your Sense HAT to the Raspberry Pi via the 40 GPIO Pins.You will then need to install the software:
Open up a terminal and run the following command:
wget -O – http://www.raspberrypi.org/files/astro-pi/astro-pi-install.sh –no-check-certificate | bash
When the install has finished you will need to reboot your Raspberry Pi!



商品評價
目前沒有評價。